Moving from 1Password to iCloud Keychain
November 21, 2021
In this post, I will detail how I moved my data out of 1Password and into iCloud Keychain and use the new Passwords preference pane introduced in macOS Monterey. I have only recently switched from 1Password to iCloud Keychain so this post will not dive into the pros and cons of the two.
Let me start by saying that I've been a happy user of 1Password for many years and I still am. My motivation for moving from 1Password to iCloud Keychain is solely to see how Apple is tackling the problem of making a password manager and how they are integrating it into macOS, iOS, and iPadOS.

I have been using 1Password to store five types of secrets:
- Username, passwords and, a two-factor authentication code wherever possible.
- My credit card information.
- Backup codes for services that support two-factor authentication.
- Passwords that aren't used on a website. For example, the pin code for my suitcase.
- Software licenses.
As I was moving usernames, passwords and two-factor authentication codes to iCloud Keychain, I took the opportunity to reconsider where I could store my other data as well. Deciding where to store my credit card information was easy because iCloud Keychain has support for credit cards. I added my credit cards to iCloud Keychain from Settings -> Safari -> AutoFill on my iPhone. This can also be done through preferences in Safari on the Mac.
The hardest part was figuring out where to store my backup codes. I don't want to lose those and I don't want anyone else to get their hands on them either. I asked for recommendations on Twitter.
A few people recommended storing the backup codes in iCloud Keychain. This guide from Apple details how to store notes securely in iCloud Keychain. Storing the backup codes in iCloud Keychain sounds like a good idea at first since I would already use iCloud Keychain to store usernames, passwords, and credit cards. However, notes stored in iCloud Keychain aren't accessible on iOS and iPadOS. I didn't want to adopt a solution that wasn't available on all the platforms I use regularly.
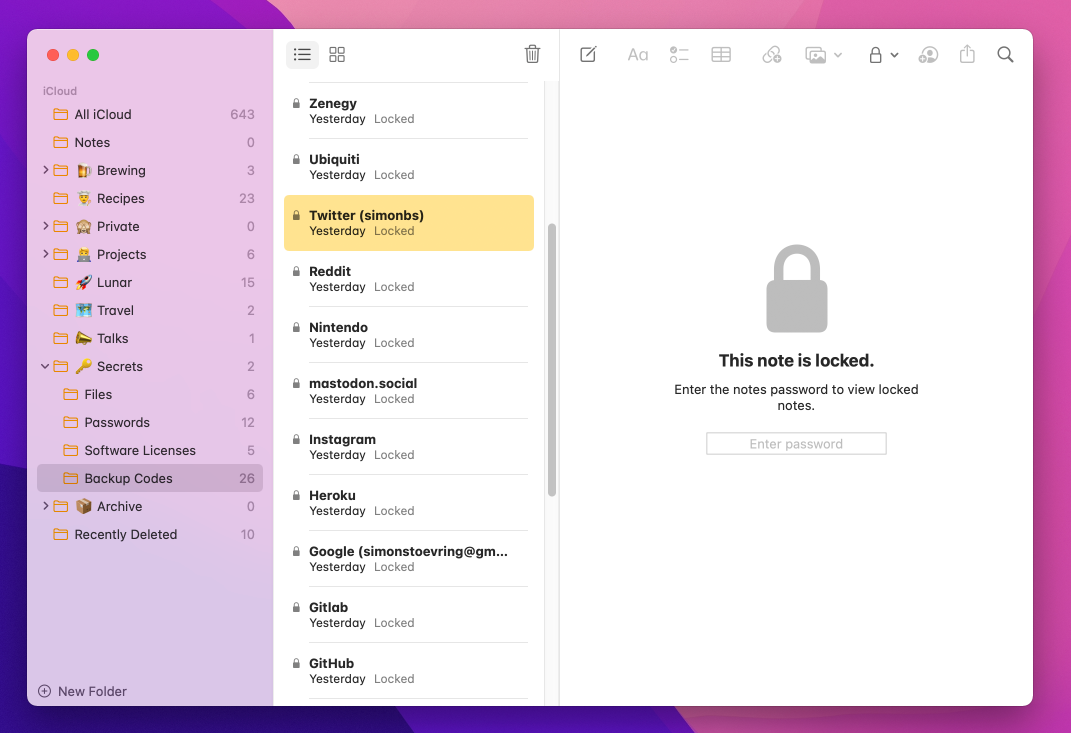
Others recommended storing the backup codes in a locked note inside Apple's Notes app. These notes are synchronized over iCloud, end-to-end encrypted using a password, and can be opened on the Mac, iPhone, and iPad. They're a lot like notes stored in 1Password and perfect for my needs. They're also perfect for storing software licenses and passwords that aren't used on a website. I only had 25 notes with backup codes, 12 passwords, and a handful of software licenses stored in 1Password. It was trivial to move those into Notes by hand.

With that, I had a plan for where I would store all my data.
Now I could move on to moving usernames and passwords from 1Password to iCloud Keychain. I had roughly 300 usernames and passwords to move and didn't want to do that by hand. Fortunately 1Password supports exporting items in a format that can be imported into iCloud Keychain. There were still a few manual steps needed to get the import to work properly though. At a high level the steps are:
- Ensure all items in 1Password have a valid website address.
- Export items from 1Password as a CSV file.
- Edit the exported CSV file to get rid of any passwords that contain a quotation mark.
- Import the edited CSV file into iCloud Keychain using the Passwords preference pane.
Let's dive into these steps one by one.
Ensuring all items in 1Password have a valid website address is necessary in order to import the items. iCloud Keychain will skip any items that do not have a valid website address.
After ensuring all items have a valid website address, they can be exported from 1Password by selecting a single vault and navigating to File -> Export -> All items.... After entering the Master Password the dialog below is presented. It's important to change the file format to "iCloud Keychain (.csv)" before exporting.

The exported CSV file is unencrypted, so it's important not to hold onto it for too long.
Before importing the usernames and passwords into iCloud Keychain, I had to modify the exported file and get rid of any items where the password contained a quotation mark ("). I found out the hard way that items with a quotation mark cannot be imported. The Passwords preference pane will not import any items if just a single password contains a quotation mark, possibly because it fails to parse the CSV file. I filed a feedback about this to Apple (FB9773317).
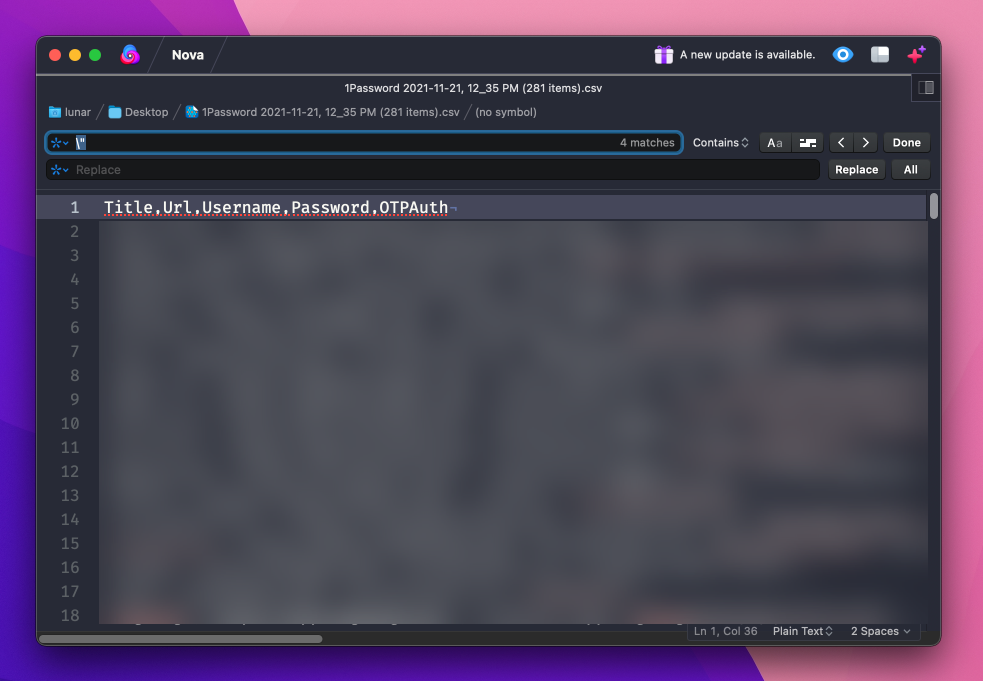
I opened the CSV file in a text editor and searched for \". Luckily there were only four matches where two of them were in a single password. I took note of which three passwords they were and removed the entries from the CSV file.
Update: As noted by Ricky Mondello on Twitter quotes shouldn't be escaped with \" but with "" in CSV files. That means I could (and should) have just replaced all occurrences of \" with "" instead of removing the entries from the CSV file. I have later verified that would have done the trick.

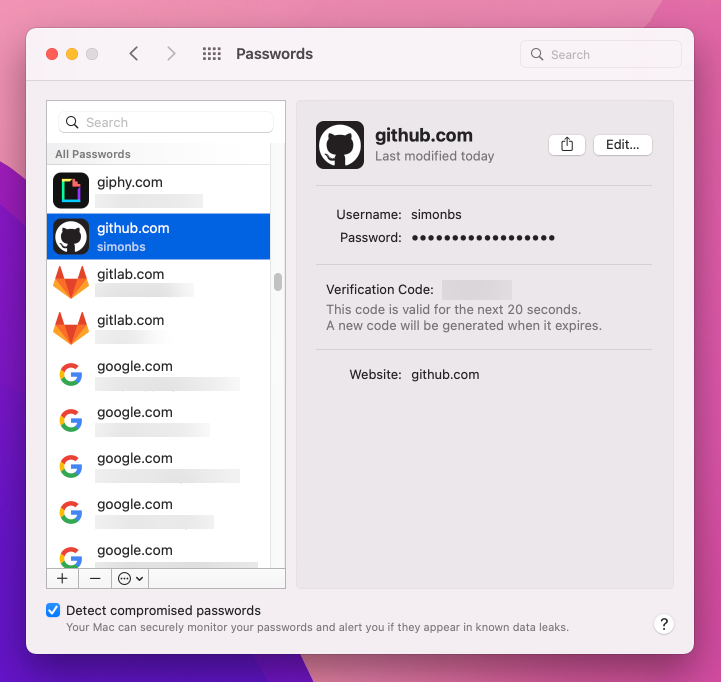
The CSV file could now be imported into iCloud Keychain from System Preferences -> Passwords by selecting the three dots at the bottom of the window, then "Import Passwords..." and then selecting the CSV file.
After the import succeeded I manually added the three passwords that contained a quotation mark. Update: This wouldn't be necessary if I had just replaced all occurrences of \" with "".

That's it. All data my data was now moved out of 1Password and into either iCloud Keychain or locked notes in Apple's Notes app.
The only piece missing in my setup was an easy way to access the Passwords preference pane. I quite liked that 1Password is a separate app that can easily be launched to browse my passwords. That's not the case with a system preference pane. Luckily there's a workaround.
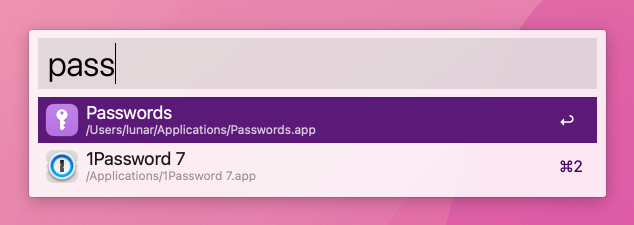
Ricky Mondello shared a shortcut for opening Passwords with a single click. This shortcut works on both macOS, iOS, and iPadOS. After downloading Ricky's shortcut, I wanted to add it to the Applications folder on the Mac so I could easily run it using Alfred. This can be done by opening the shortcut in the Shortcuts app and selecting File -> Add to Dock. This will add the shortcut to both the dock and the Applications folder. The shortcut can be removed from the dock but it will stay in the Applications folder and as such it can be run from Alfred.
